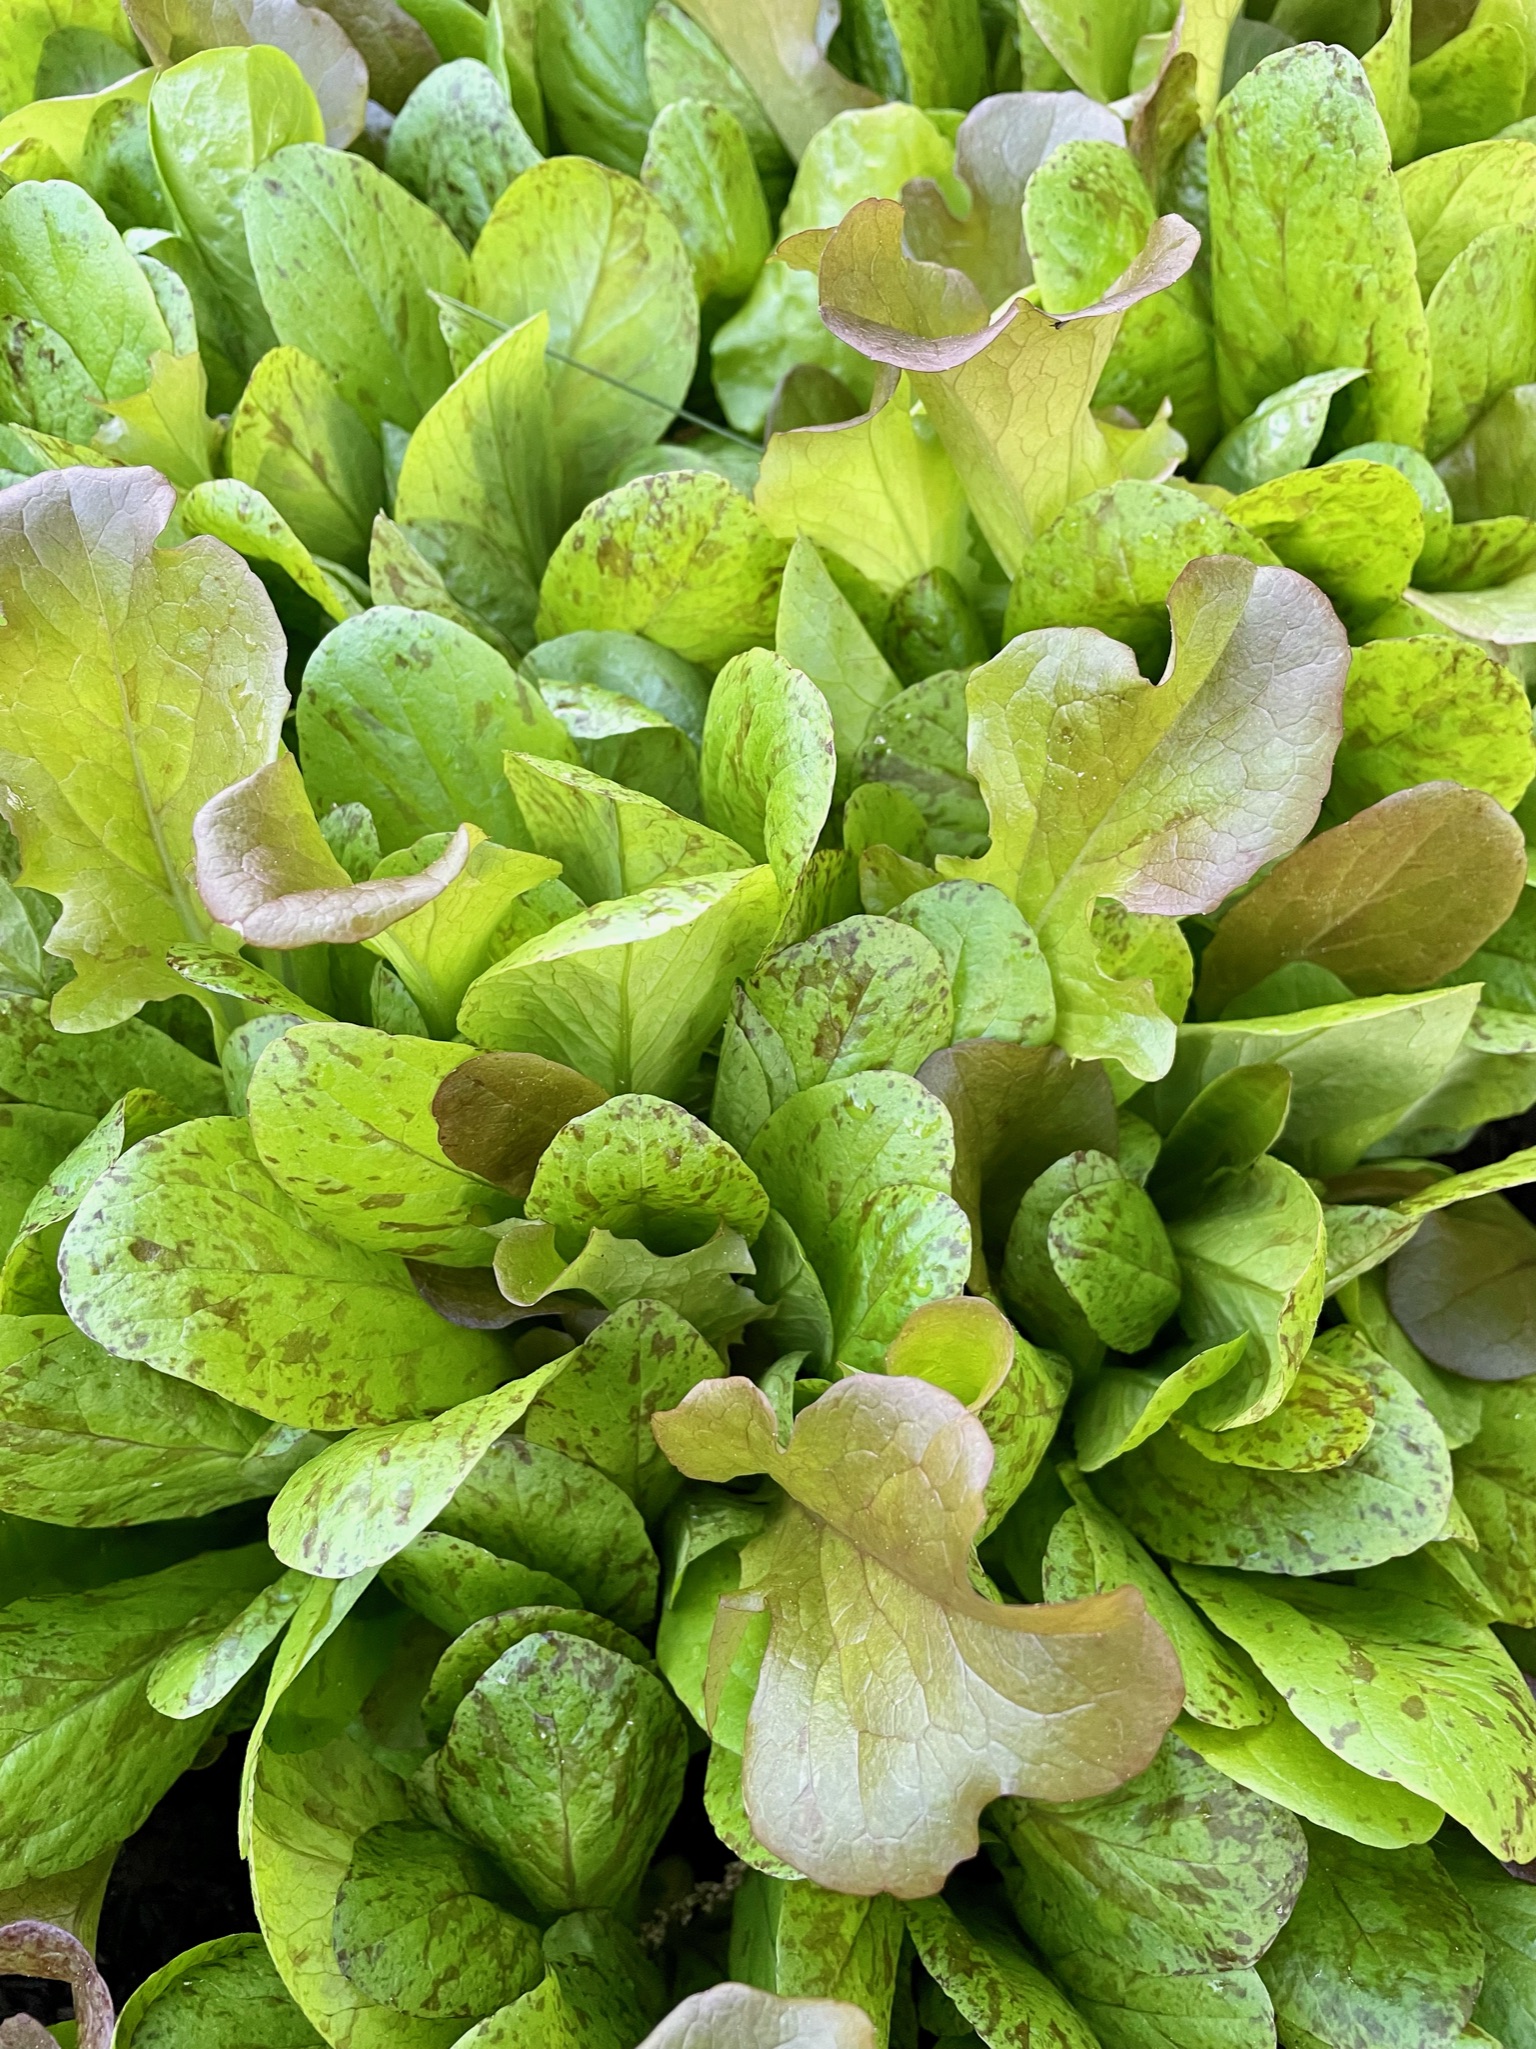
We succumbed to the warm moments that kept cropping up in February and sowed some lettuce. Now it’s coming up! This photo, from a couple years ago, is an inspiration for what’s coming next. Also we are less than two weeks out from March 17, the traditional day to plant peas. We are looking forward to putting the first sugar snaps and snow peas in the ground.
Now is a great time to start or expand your garden! Please let me know if you have questions about our garden bed kits — I’m ready to make one for you!
Posted inUncategorized|Comments Off on Lettuce begin!
The ground is frozen solid now, but the traditional pea-planting day of March 17 is approaching quickly! Now is a great time to plan your 2022 garden.
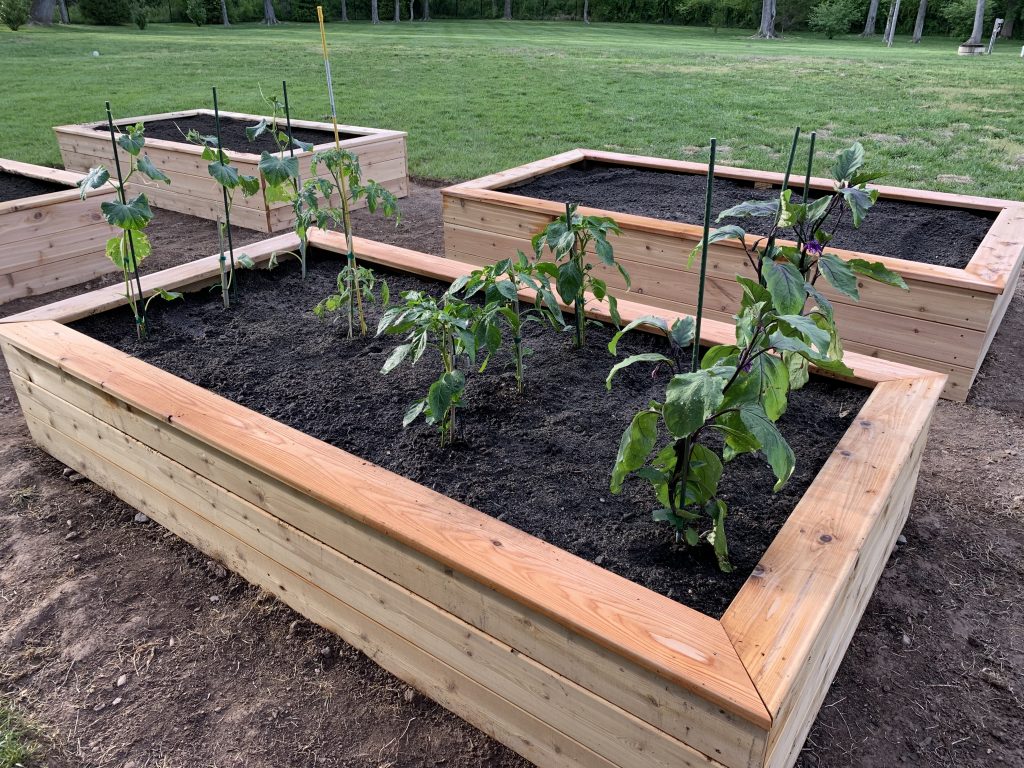
Are you ready to turn a patch of lawn into an abundance of vegetables? Or are you hankering to expand your existing garden? Our cedar raised garden bed kits make it easy. The standard kits are 4 feet wide, 8 feet long, and 11 inches tall. We also offer taller kits and a picture-frame cap that makes for a narrow seat. This is a small, very part-time business, so we do not offer delivery — all kits are for pickup from our small farm on Bayberry Road between Princeton and Pennington. Please write for details or questions.
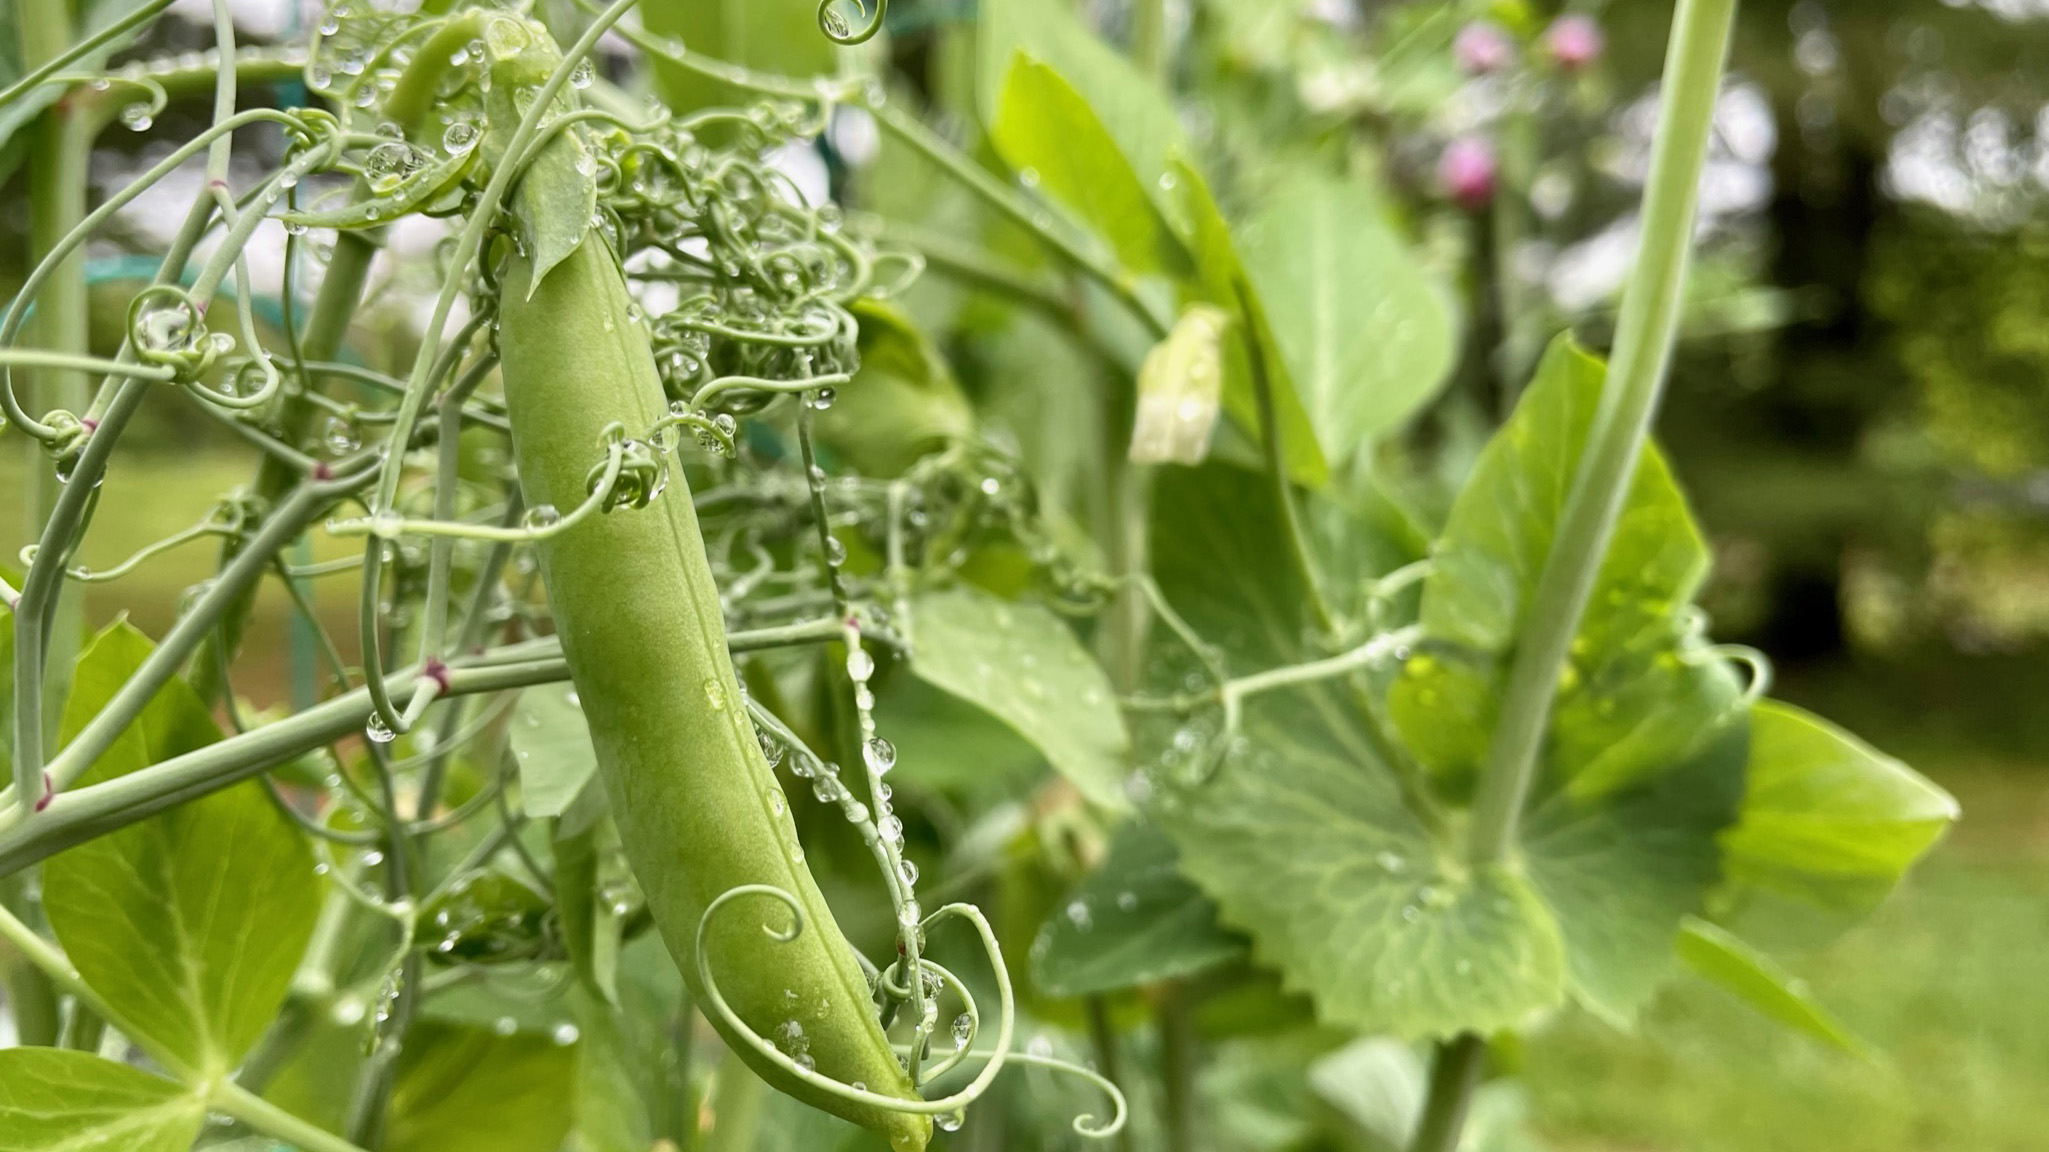
Every year we look forward to our first taste of crisp, juicy, sweet sugar snap peas.
Posted inUncategorized|Comments Off on Dreaming of planting?
For special projects over the past several years we also have made raised garden beds from locally milled white oak, which is a long-lasting, economical, and more sustainable material. This year, we will explore offering white oak as an option to all customers. The challenge is that we have to order the oak in bulk as a custom-milled product. So, if you are interested in this option please let us know; if enough people indicate an interest, we can take deposits and place a large order.
Here are some details, and comparison to cedar:
Price: Due to the spike in cedar prices last year, our basic cedar kit starts at $270. Depending on the number of orders for oak, we should be able to offer a basic kit for $230.
Thickness: The cedar boards are 1″ thick and 5.5″ wide; the oak is 1.5″ thick and 6″ wide
Weight: The oak kit will weigh more than twice as much as the cedar. This is good for lifetime, but a little more challenging for transporting and building.
Appearance: The oak comes rough-cut, resulting in a more rustic, less precise look. You can see an example 14 white oak beds at the JW Middle School in Princeton where we led a community garden-raising. The wood also comes green; because it’s not fully cured, the kits should be assembled within a month or two of purchase because otherwise it could start to twist as it dries.
Origin: Our cedar beds are made of Western red cedar and the oak is cut and milled in Pennsylvania.
Longevity: Both cedar and white oak have natural rot-resistant qualities and both kits should last many years. We don’t have long-term data on the oak but expect that simply because it is so much more massive it will ultimately last longer than the cedar.
White oak beds at the JW Middle School in Princeton. The beds at each end of the row are double-height.Some of the 16 oaks beds we made for our own garden last year.
Like many of us, I am excited to start planting in this new season. Here at Bountiful Boxes we have moved to a new location and are starting out with all new boxes for ourselves. And we have already begun making new ones for our customers. For many of us, gardening is a wonderful respite and sustaining activity during some very challenging times.
Price increase
Unfortunately some of the challenges of this past year are carrying over into the garden bed business; I have just been informed by my lumber supplier that the price of the cedar we use jumped in price more than 70%. The prices you now see on this site account for this increase. The price of the oak corner posts also has gone up but so far we are absorbing that increase. The goal here is to help you have the garden you want, so if the prices are now out of reach, please also see the DIY instructions, and as always, feel free to email with questions.
Posted inUncategorized|Comments Off on Welcome to the 2021 season!
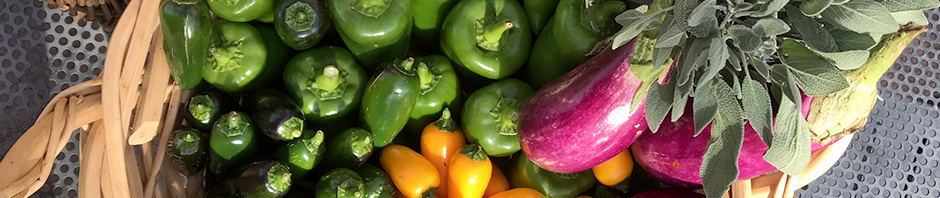
We’ve been overwhelmed with the community’s response to our garden bed offerings and our decision to donate this year’s profits. It’s been wonderful to hear your plans for tomatoes, greens, lettuces, peppers and eggplants and to see photos of newly built and planted beds.
And I really do mean overwhelmed, so with apologies in advance for the inconvenience, I will not be filling new orders until July. Please go ahead and place your orders – via the online selection on the right or by emailing me – and I will get back to you with more specific information about when I will make your kits. Once we hit the heat of the season, it’s good to think ahead to the fall which is an ideal time to start lettuces and greens or simply to prepare a bed that will be ready for sugar snap peas on March 17, 2021!
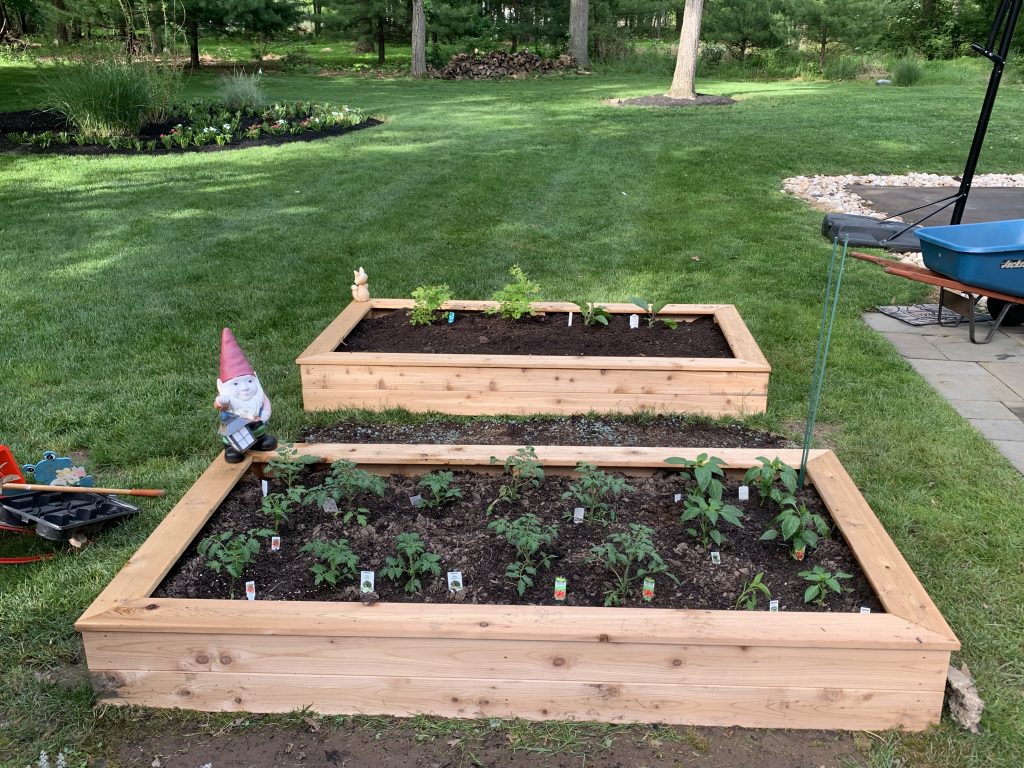
In the meantime, please continue to send in pictures! Here are two from Princeton customers who just finished constructing their new garden beds.
Tall beds with capsRegular beds with caps
Posted inUncategorized|Comments Off on Great gardens, pause in production
For your safety, we are making the kits while masked and gloved, and they sit untouched until you pick them up at your convenience.
We source our materials as locally as possible. We buy our cedar from Heath Lumber in Trenton and our oak from Heacock Lumber, which mills it from regionally harvested trees.
Growing a garden is a great way to:
Grow your own supply of delicious food
Trade monoculture grass for a more diverse and resilient ecosystem
Bring yourself and your family closer to the source of your food and each other
Find peace and renewal in tending to growing things
Build resiliency in your community by providing bounty for your friends and neighbors
Also, just a friendly reminder that Mother’s Day is May 10 and Father’s Day is June 21!
Just starting a garden? Here are eight quick answers to questions that often arise.
Tip
A vegetable garden needs a minimum of 6 hours, preferably 8 per day. Have less sun? Consider focusing on lettuces and leafy greens instead of fruit-bearing plants like tomatoes.
Tip
There is no need to put landscape fabric or other weed barrier under the bed if placing on grass. The soil will kill the grass. But if you want a barrier, try a thick layer of newspaper.
Tip
A typical mix of soil for raised beds if 50% top soil and 50% compost. Vermiculite is a great addition to keep the soil fluffy.
Tip
Mulch around the bed instead of letting the grass grow right up against it, which would be hard to trim. A weed barrier would be helpful here.
Tip
If setting up more than one bed leave four feet between them if possible. That leaves a generous space for a wheelbarrow.
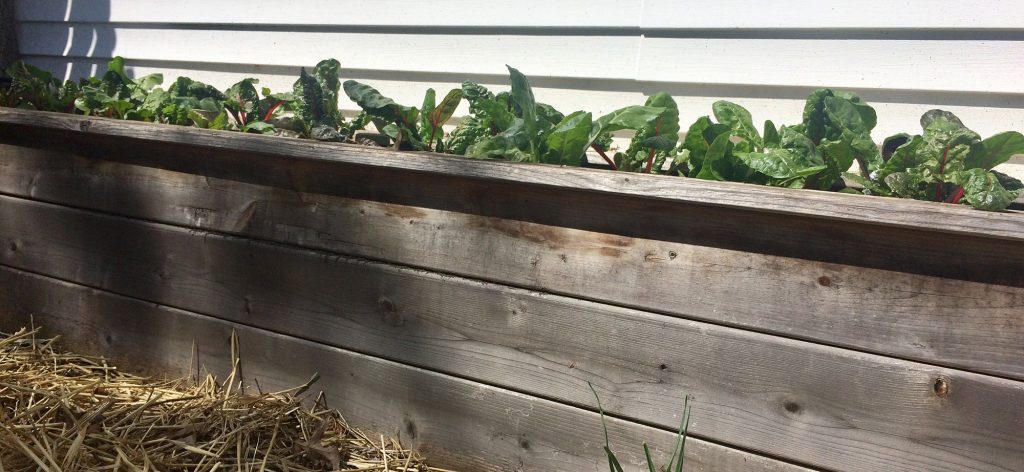
Swiss chard is one of the first bits of bounty we harvest each year, especially when we get a crop started in the fall and nurture it through the winter with floating row cover.Here is our favorite, super-simple recipe.
Serves 2-3
Swiss Chard (25 or more leaves) 1 clove garlic, peeled and crushed Olive oil Kosher salt Lemon juice
Directions
Rinse greens thoroughly.
Stack and roll, then cut into ribbons; leave to drain in colander over bowl for a few minutes.
Over medium heat in lage sauté pan, saute garlic to golden.
Using tongs or oven mitt, add the still-moist chard.
Stir briskly as chard wilts and turns bright green.
Cook for a minute or so, then turn heat off. Add a squeeze of lemon and a scattering of kosher salt.
Posted inAsk a Cook|Comments Off on Sauteed Swiss chard
It’s almost time for lettuce to sprout and for snow peas to grow tall enough to clip off a few leading shoots and add them to salad. So as we dream of that first salad, here is the recipe for our family’s go-to dressing.
Use this basic vinaigrette for lettuce-based salads, to dress lentils or beans or boiled potatoes, or as a marinade. For variety, use vinegars or different oils. Add crumbled dried herbs (thyme is a good one, for starters). Fold in a bit of mayonnaise if you are looking for a creamier version. You won’t need to buy salad dressing again. ~ Karla Cook
Makes about ¾ cup dressing
Juice of 1 lemon (about 3 tablespoons) 8 tablespoons extra virgin olive oil 1 clove garlic, smashed ¼ teaspoon Dijon mustard ½ teaspoon salt Freshly ground black pepper
Directions:
1. Place ingredients in a one-cup jar with a tight-fitting lid Shake to emulsify Refrigerate leftovers
Posted inAsk a Cook|Comments Off on Lemon vinaigrette
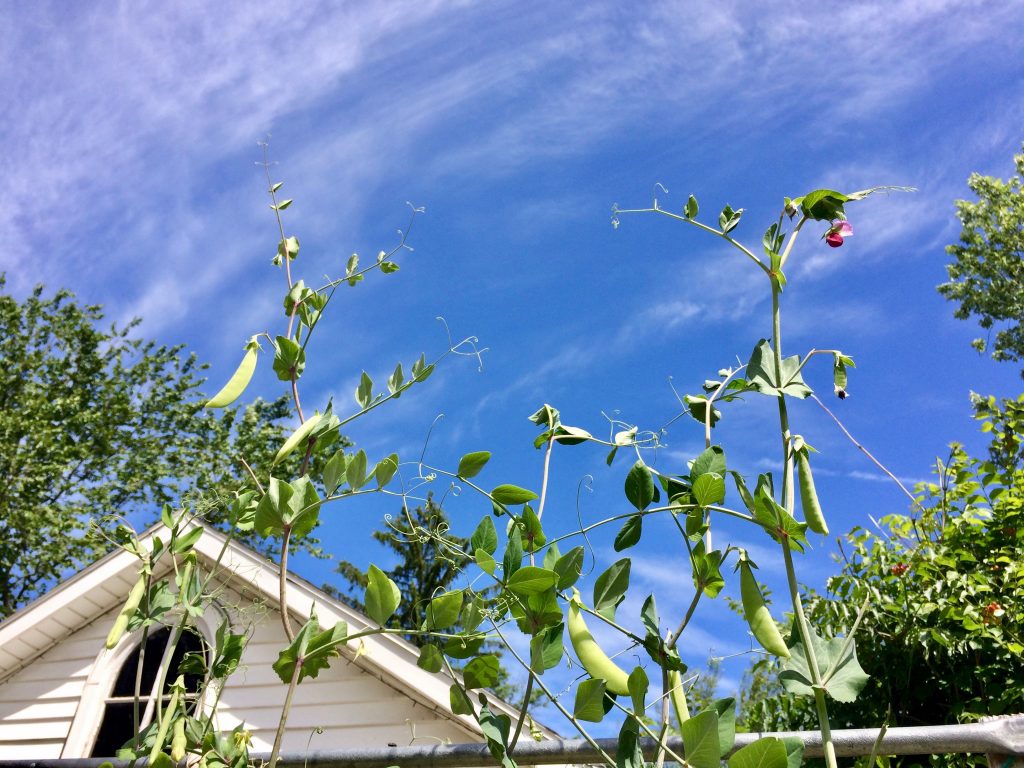
Jack and the beanstalk? Our sugar snap peas in 2019 grew right up over the top of our trellis. The payoff is not something to climb, but sweet, crisp, juicy peas to eat like candy off the vine.
In March even when overnight frosts are still common, it’s time to plant peas. If you didn’t get yours in the ground on March 17, the traditional pea-planting day, you still have time.
For inspiration, above is a bit of last year’s crop, bursting over the top of our trellis.
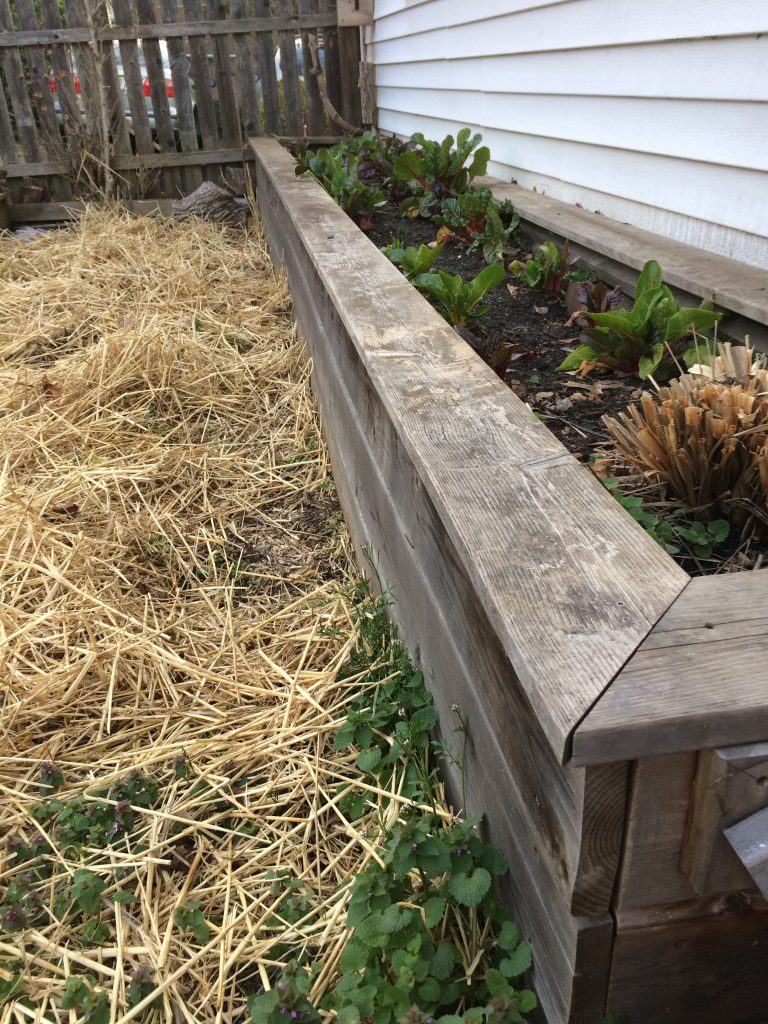
Being out in the garden to poke peas under the ground also is a good time to observe how the rest of the garden is getting ready to wake up. Or, has already woken up. At the end of last year, Karla sowed Swiss chard and then we covered it with floating row cover, which protected it all winter. When we pulled the cover off a couple weeks ago and it was a delight to see the chard sprightly, green and healthy. We sauteed the first batch with olive oil, garlic and salt for our dinner March 24.
Do you like your chard early in the season when the flavor is subtle and mild or later when the stalks assert their earthiness, a magical mix of soil and light?
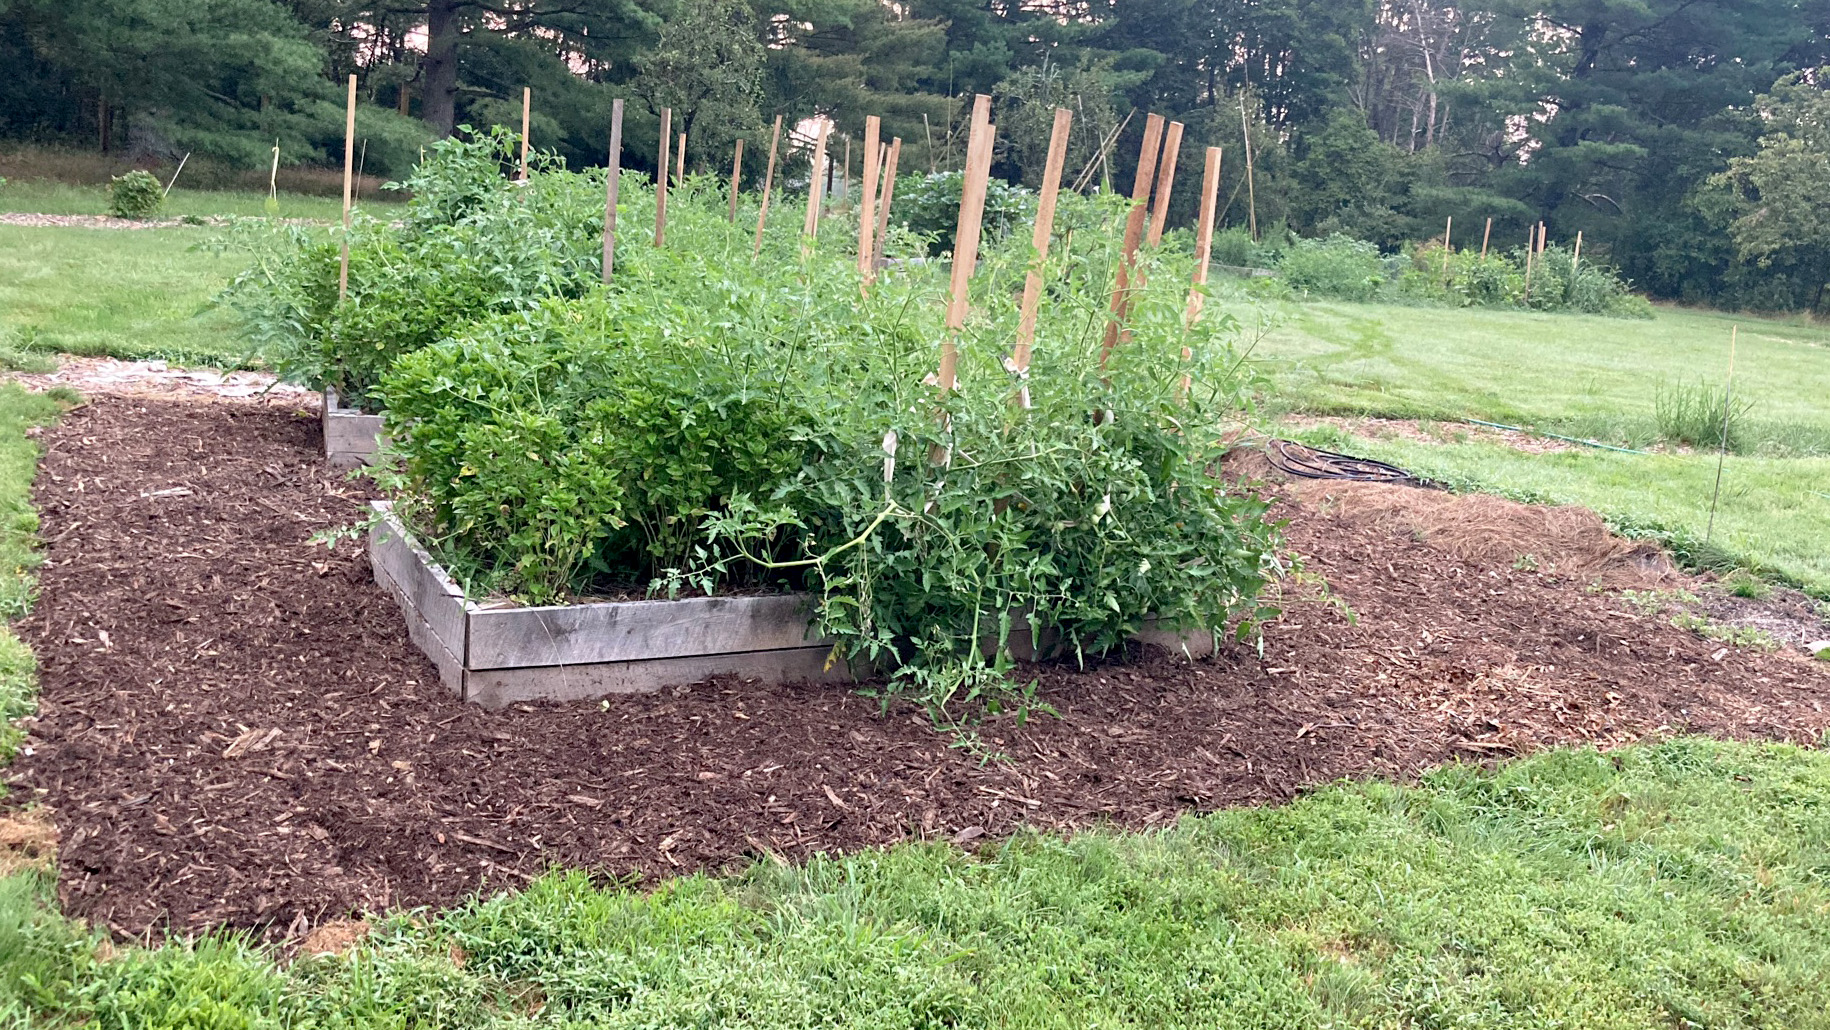
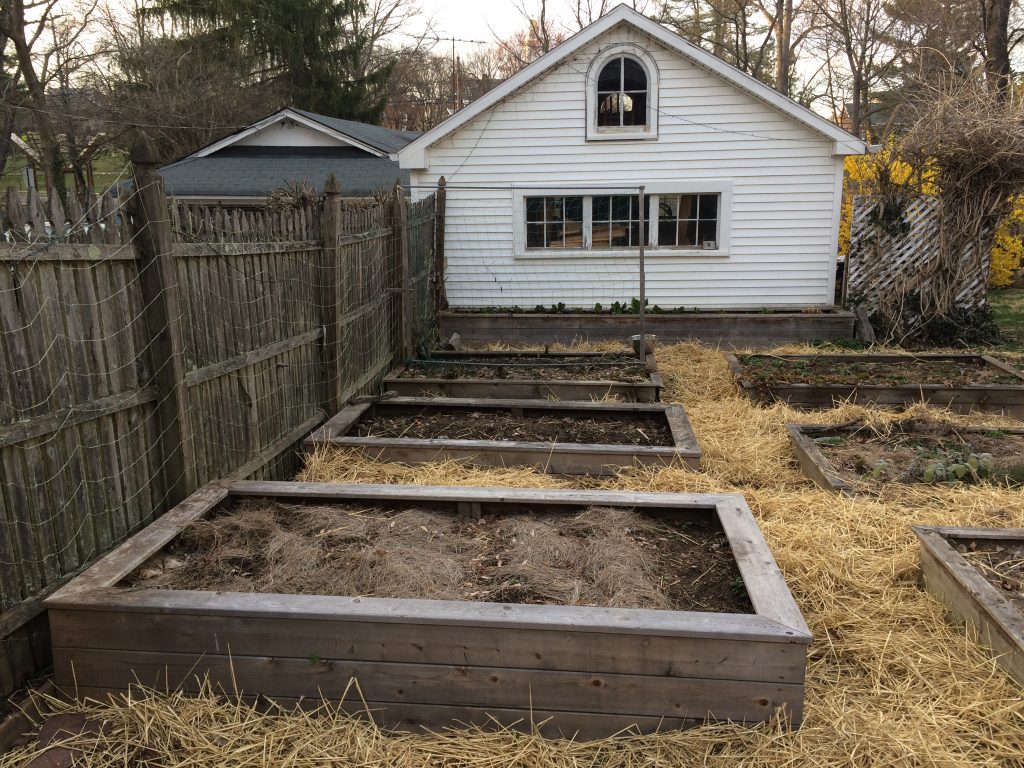
It’s fun to look at all the beds now, a blank canvas.
What would you plant here? What will you grow this year?
Photos by Karla Cook
Posted inUncategorized|Comments Off on Garden ready to wake